Web Components with Angular 18: Incredibly Easy!
Web components is a great feature that allows you to package your code into an independent unit that works across different platforms and frameworks. In this tutorial, you will learn how to convert an Angular component into a Web component using the Angular Elements package.
Prerequisites
Before we begin, let’s assume:
- You’ve already created a component that you want to transform into a web component.
- The main purpose of your app is to produce a web component (if not, some adjustments will be needed).
- We’ll keep zone.js as a dependency for this example, but note it may cause performance and compatibility issues in non-Angular environments. Check out this article to learn how to create a zoneless web component with Angular 19.
The example code used in this article can be found here.
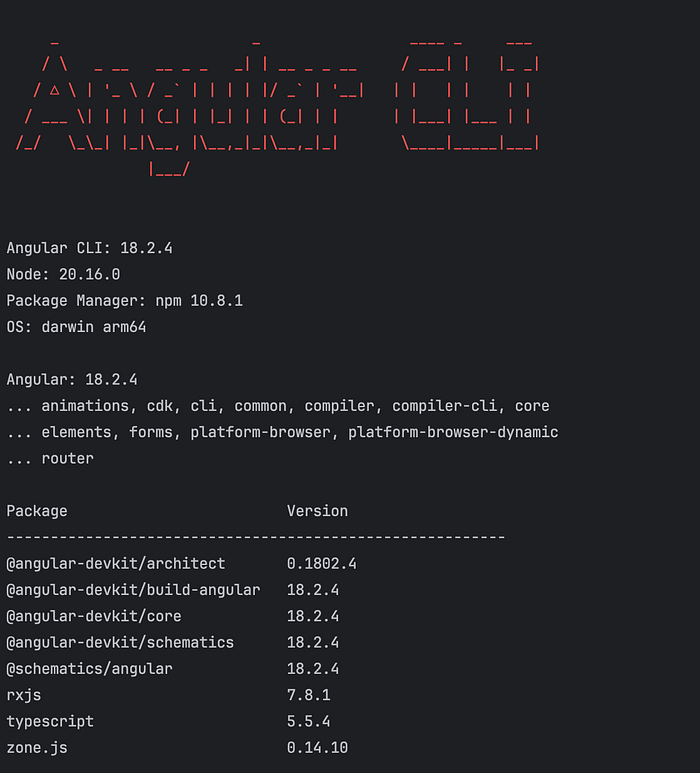
Here’s my Angular setup, for reference:
Getting started
Step 1: Converting an Angular Component to a Web Component
First, let’s install the Angular Elements package that handles custom element creation. In the terminal, go to the root of your project and run:
npm install @angular/elementsNext, update your main.ts file as follows:
import { createApplication } from '@angular/platform-browser';
import { createCustomElement } from '@angular/elements';
import { LikeButtonComponent } from './like-button/like-button.component';
import 'zone.js';

createApplication()
    .then((app) => {
        const LikeButton = createCustomElement(LikeButtonComponent, { injector: app.injector });
        customElements.define('like-button', LikeButton);
    })
    .catch((err) => console.error(err));
Let’s examine the code step-by-step:
- The
createApplicationmethod creates an Angular application instance without bootstrapping components. You can omit bootstrapping since you don’t need to provide a full Angular application. Our main focus is component registration. createCustomElementconverts the component into a web component.customElements.defineregisters the custom element, allowing it to be used as a standard HTML tag (in this case <like-button>).
Note that we’ve imported zone.js. If your component requires other polyfills, make sure they are imported in main.ts.
✍️ Importing polyfills in the main.ts file allows to generate a single script. However, when embedding multiple custom elements in other environments, it’s recommended to include polyfills only once in the host application or page to avoid performance issues or potential errors. Ideally, load polyfills in a separate script tag. For simplicity, they are imported in the main file for this example.
✍️ This approach assumes your Angular app is focused on creating a web component. You can simplify your project by removing the AppComponent, eliminating the need to bootstrap it in main.ts.
Step 2: Testing the Component
Now that we’ve registered our Angular element, let’s check if the custom tag works. Paste your custom element into index.html:
<!doctype html>
<html lang="en">
<head>
    ...
</head>
<body>
    <!-- our custom component -->
    <like-button></like-button>
</body>
</html>
Step 3: Preparing the Production Bundle
To expose our web component in other environments, we need to bundle it as an external script. We’ll use the ng build command, which generates a main.js file containing all the necessary code for our component.
✍️ In older Angular versions, you would use
ngx-build-plusor a custom Webpack configuration to package your code into a single script. With the introduction of a new build system in Angular 17+, this overhead is no longer necessary.
Let’s run ng build and look inside the generated “dist” folder:
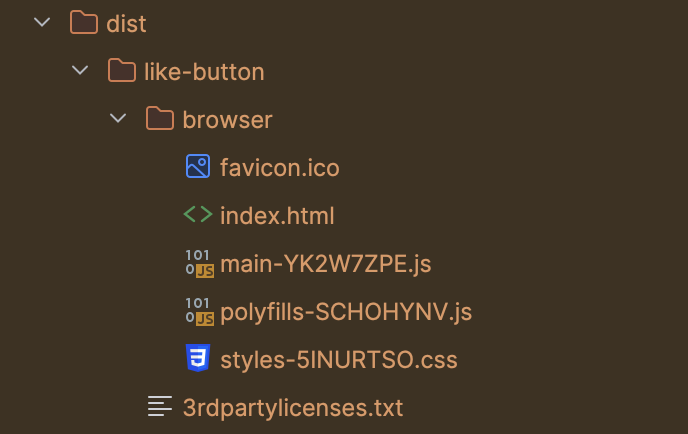
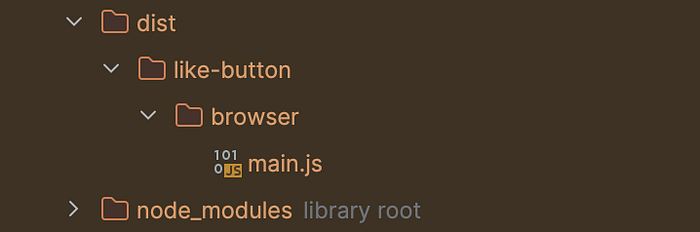
There are many files in the output, however, the only file we’re interested in is main.js. Notice that the file name includes a hash (the part after main-), which is not quite optimal for file transfer and deployment. To prevent Angular from generating hashes, remove the "outputHashing": "all" line in the build section of your angular.json file. Let’s rebuild our app and examine the output again:
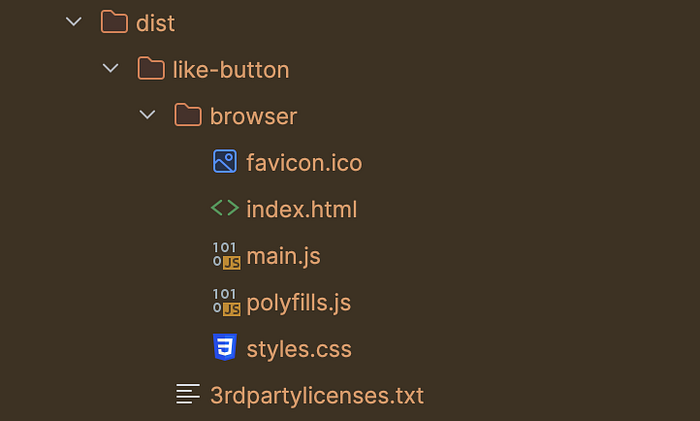
The hashes are gone, that’s better!
Alternatively, you can run the following command in the terminal:
ng build --output-hashing=noneAt this point you’re ready to proceed!
Optional Cleanup
You can delete the following if not needed:
- The public folder (if the favicon or other assets are not required by the custom element).
- The global styles (styles.scss file), if all the necessary styles are contained within the component.
Additionally, if you care about a clean /dist folder, you can adjust the angular.json file to:
- Skip copying the index.html file into the
/distfolder. - Skip extracting licenses into a separate file.
- Remove
"polyfills"options, since we’ve already imported polyfills in themain.tsfile.
To achieve this, your angular.json file needs a few more adjustments, resulting in something like this:
{
  "$schema": "./node_modules/@angular/cli/lib/config/schema.json",
  ...
  "projects": {
    "like-button": {
      ...
      "architect": {
        "build": {
          "builder": "@angular-devkit/build-angular:application",
          "options": {
            "outputPath": "dist/like-button",
            "browser": "src/main.ts",
            "tsConfig": "tsconfig.app.json",
            "inlineStyleLanguage": "scss",
            "extractLicenses": false
          },
          "configurations": {
            "production": {
              "budgets": [
                // adjust as needed
              ],
              "index": false
            },
            "development": {
              "optimization": false,
              "sourceMap": true,
              "index": "src/index.html"
            }
          }
        }
✍️ If you want to dive deeper into Angular builder options, visit my documentation page, which is dynamically generated from Angular CLI builder schemas.
Now that we’ve removed unnecessary code, you can generate a clean build containing a single main.js file:
Perfect! Let’s move on to the final step.
Step 4: Using the Web Component in Other Environments
Let’s create an HTML file outside the project. We are just two steps away from our goal:
- Grab the main.js file and include it via a <script> tag.
- Paste your custom element tag:
<!doctype html>
<html lang="en">
<head>
    ...
    <!--  our web component script  -->
    <script src="path-to-component/main.js" type="text/javascript" defer></script>
</head>
<body>
    <!--  our custom tag  -->
    <like-button></like-button>
</body>
</html>
Congratulations! You’ve successfully converted your Angular component into a web component and can now use it anywhere 🎉
Conclusion
In this article, you’ve learned how to turn your Angular components into web components, enabling you to use your custom elements in any web environment. With Angular 18 and Angular Elements, the process is straightforward and seamless!
In Plain English 🚀
Thank you for being a part of the In Plain English community! Before you go:
- Be sure to clap and follow the writer ️👏️️
- Follow us: X | LinkedIn | YouTube | Discord | Newsletter | Podcast
- Create a free AI-powered blog on Differ.
- More content at PlainEnglish.io